What happens after asphalt milling? Surface preparation before new paving
After asphalt milling, crews prepare the surface for the next paving step. Learn what property managers and contractors should understand before new asphalt is placed.
Admin
Jun 10, 2026 · 4 min read
Asphalt milling is an important step, but it is not the end of the paving process.
After milling removes a controlled layer of existing pavement, the site still needs to be prepared for what comes next. That preparation can affect how smoothly the project moves, how the new surface ties into existing pavement, and how well the finished area supports daily use.
For commercial properties, HOA roads, parking lots, roadways, and active job sites in Central Florida, the work after milling deserves just as much attention as the milling itself.
Milling is only one part of the paving process
Milling creates a prepared surface by removing worn or unwanted asphalt. But after that removal, crews still need to review, clean, and prepare the area before new asphalt is placed.
The next steps may vary by project, but the goal is usually the same: create a surface that is ready for the paving plan.
That may involve:
Cleaning loose material.
Reviewing the milled surface.
Checking transitions and tie-ins.
Reviewing drainage concerns.
Preparing areas near curbs, structures, entrances, or edges.
Coordinating access and traffic flow.
Getting the surface ready for new asphalt.
Good preparation helps reduce surprises before the next paving step begins.
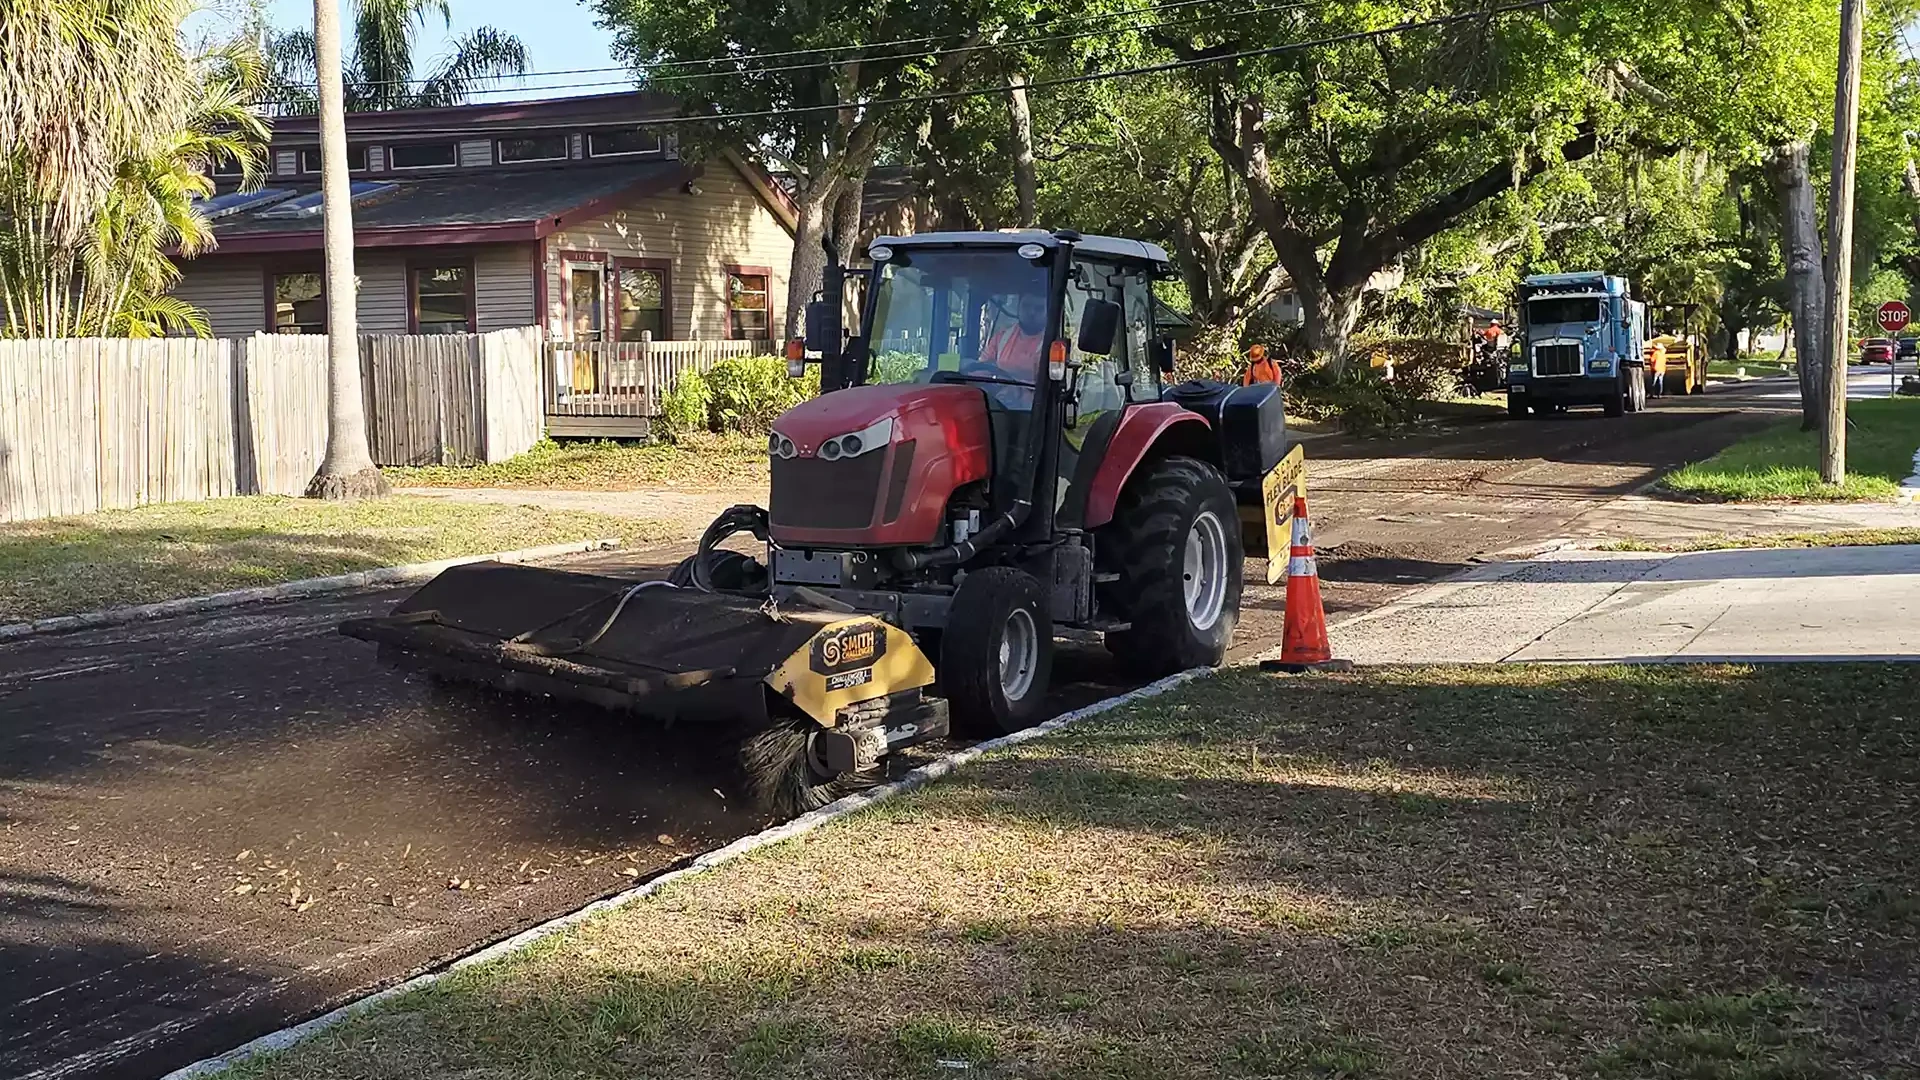
Step 1: clear and clean the milled surface
After milling, loose material and debris need to be removed from the surface. Sweeping and cleanup help prepare the area for evaluation and paving.
This step matters because loose material can interfere with the next layer of asphalt. It can also make it harder to see the condition of the remaining surface.
On commercial and HOA projects, cleaning also helps crews manage work zones and keep the project organized around residents, tenants, customers, vendors, or other site users.
Step 2: review the pavement condition
Once the milled surface is visible, the paving team can review the condition of the remaining pavement.
This review may look at:
Surface consistency.
Soft or damaged areas.
Low spots.
Edges and transitions.
Drainage paths.
Tie-ins to existing pavement.
Areas near curbs, sidewalks, utilities, or entrances.
If the surface shows issues that were hidden before milling, the plan may need to account for them before new asphalt is placed.
Step 3: plan transitions, drainage, and access
After milling, transitions become especially important.
New asphalt may need to meet existing pavement, curbs, driveways, sidewalks, drainage structures, or road connections. If those tie-ins are not planned well, the finished surface may feel uneven or create drainage and access concerns.
For property managers and HOA boards, this is also the stage where access planning matters.
Useful questions include:
Which entrances need to stay open?
How will traffic move during the work?
Where should residents, tenants, or customers park?
Are there areas that need temporary closures?
How will the project affect deliveries, vendors, or emergency access?
Milling and paving are physical work, but successful projects also depend on clear coordination.
Step 4: prepare the surface for new asphalt
Before new asphalt is placed, the surface may need additional preparation based on the project scope.
That preparation can include:
Final cleaning.
Edge work.
Tie-in preparation.
Addressing specific areas identified after milling.
Confirming that drainage and elevation have been considered.
Preparing the surface according to the paving plan.
The exact preparation depends on the pavement condition and the intended next step. The important point is that new asphalt should follow a prepared surface, not just a milled surface.
Step 5: place and compact the new asphalt when the site is ready
Once the surface is ready, crews can move into paving. New asphalt is placed and compacted according to the project scope.
Compaction is part of creating the finished surface. It helps the new asphalt settle into the intended shape and support the property use.
For active sites, this stage also requires continued coordination around:
Work zones.
Vehicle movement.
Pedestrian safety.
Access limitations.
Communication with site users.
Post-paving expectations.
A clear plan before paving begins can make the day easier for everyone affected by the work.
What property managers should confirm before paving begins
Before the project moves from milling to paving, property managers, contractors, and HOA boards should confirm:
The milled surface has been cleaned.
Any visible issues have been reviewed.
Drainage and elevation concerns have been discussed.
Tie-ins and transitions are part of the plan.
Access and temporary closures are communicated.
The project team knows how the property is used.
The final CTA or contact path is clear for questions.
These details are practical, but they matter. They help connect the technical work to the real needs of the property.
Talk to Blacktop about paving and milling preparation
Blacktop provides asphalt milling and asphalt paving services for commercial properties, HOA communities, roads, parking lots, and related infrastructure in Central Florida.
If your project includes milling, the next step should be planned carefully. Cleaning, review, transitions, drainage, and access all help shape the paving plan.
Ready to start your next paving project? Our team of experts is ready to provide a reliable and affordable solution for all your milling and paving needs.
Contact Blacktop to discuss your next asphalt paving or milling project.