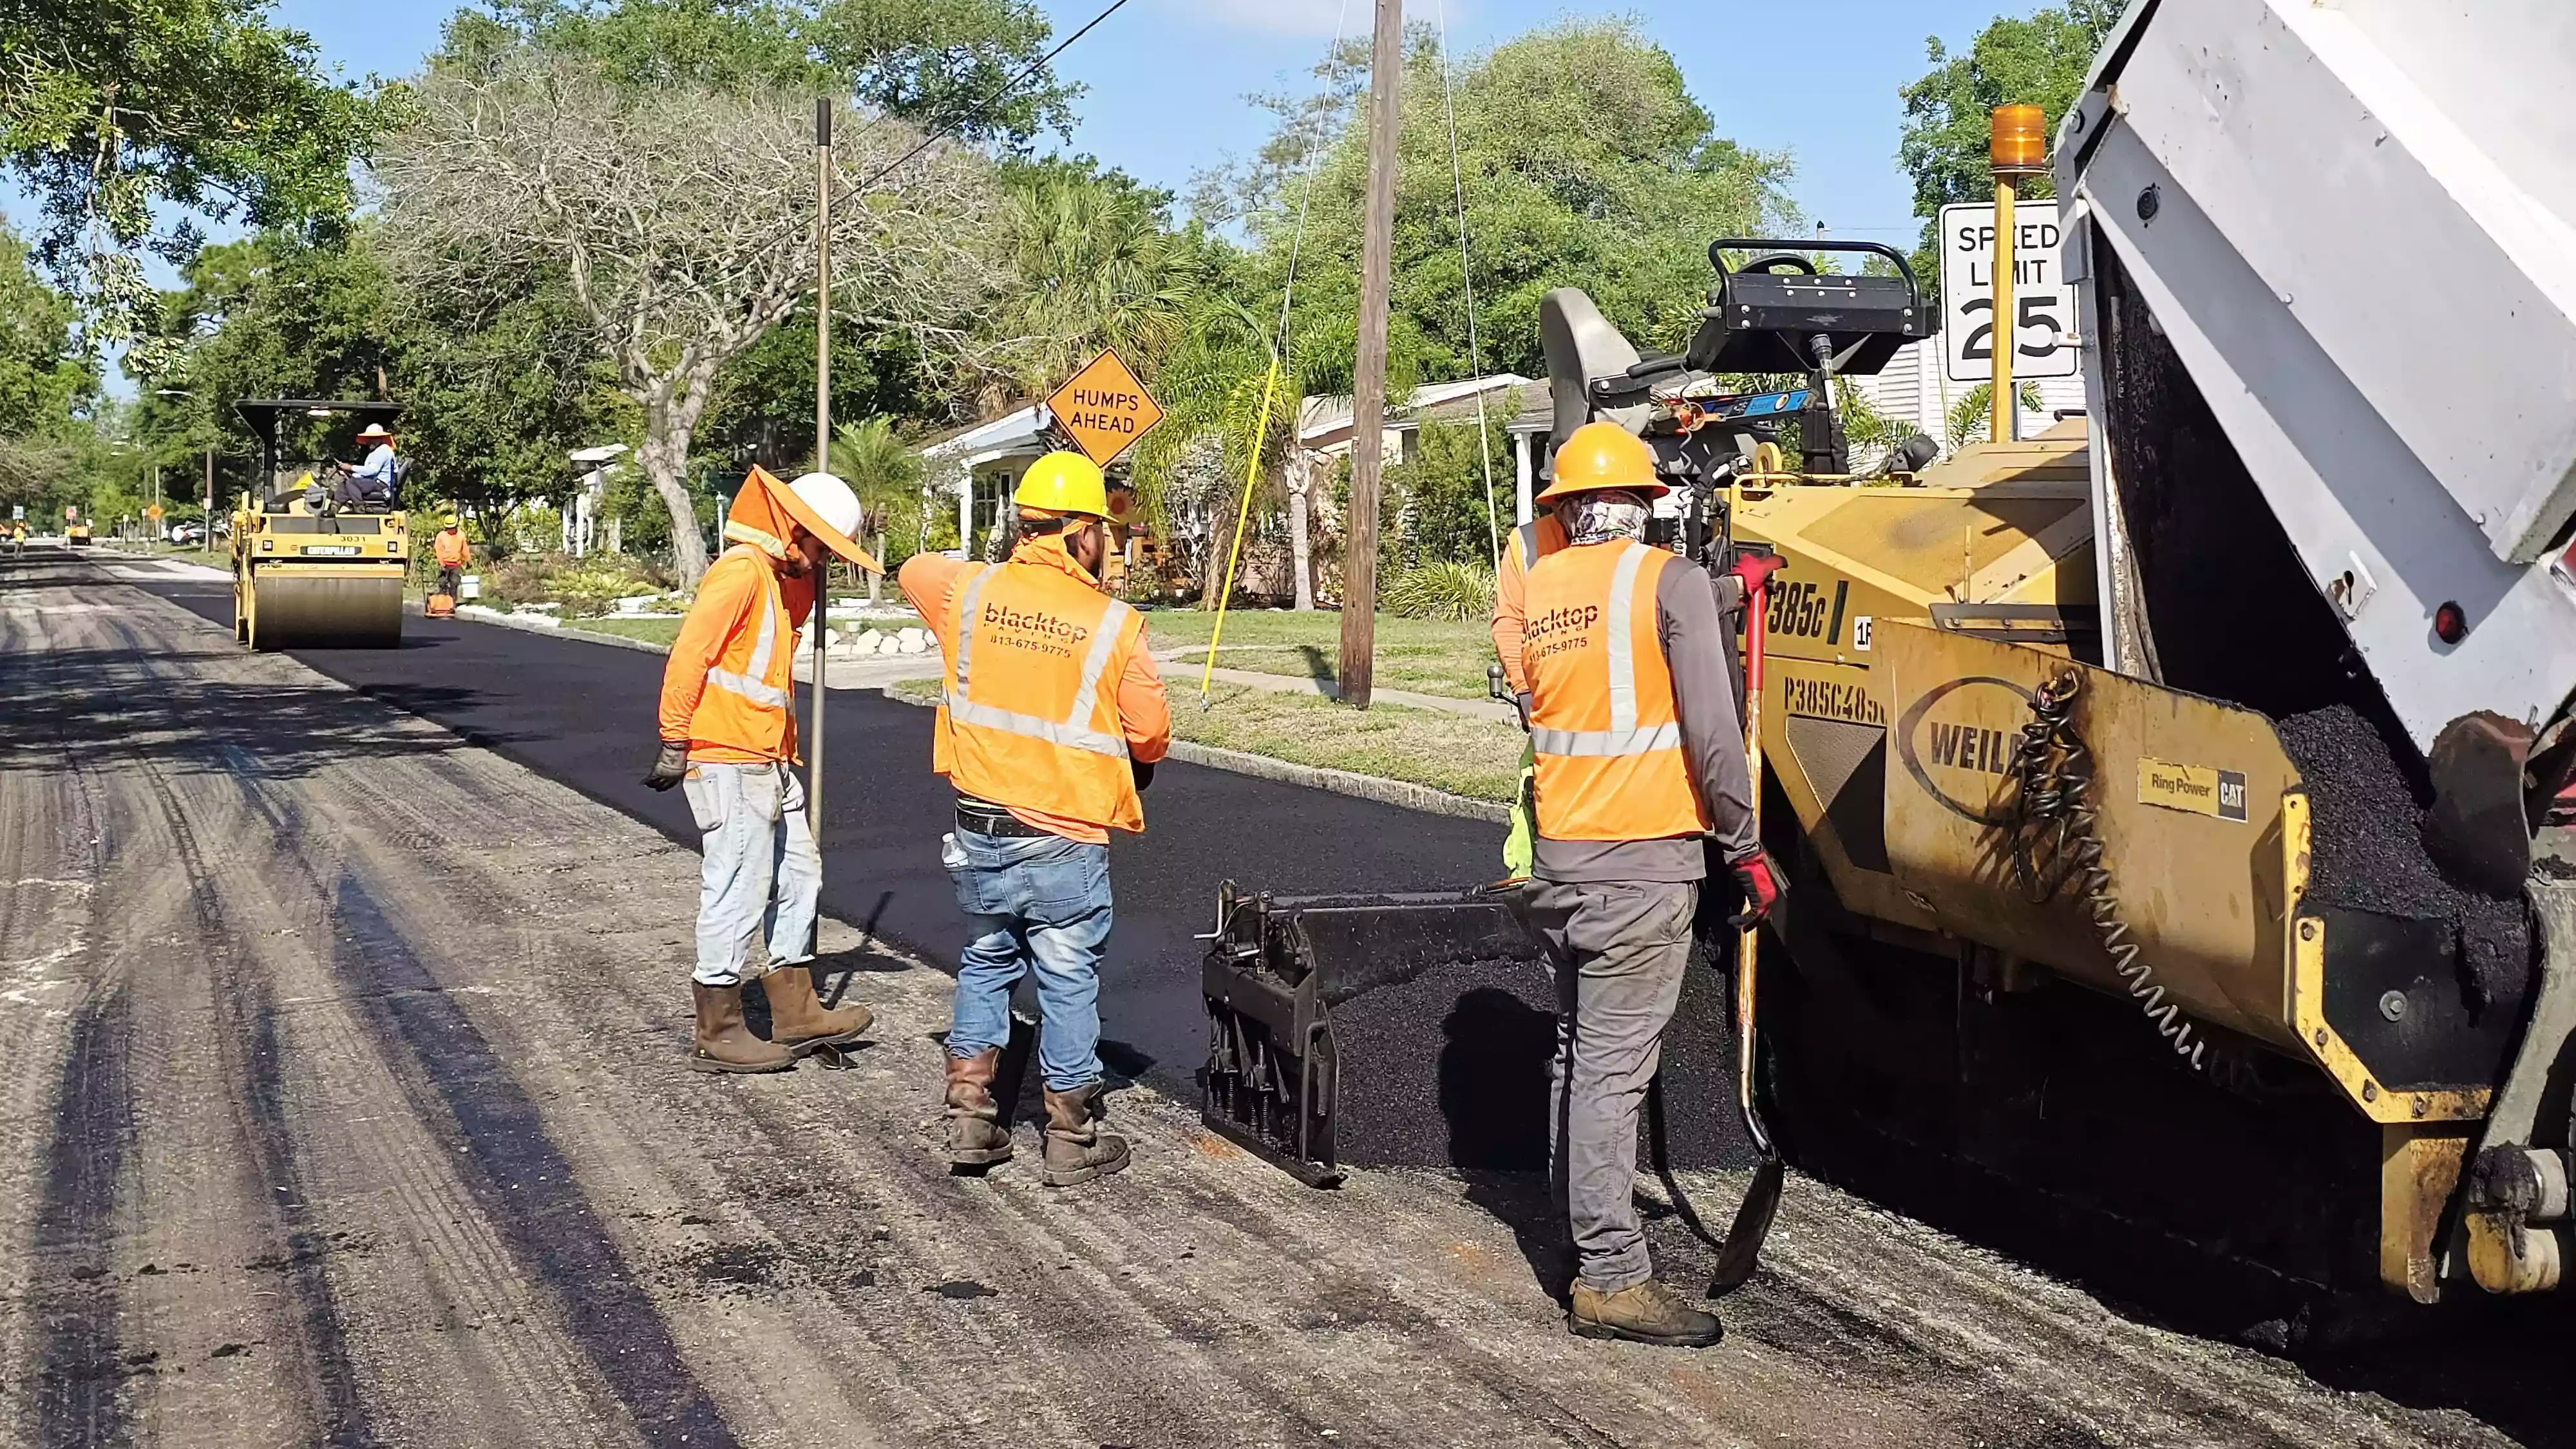
What happens on asphalt paving day? A guide for Central Florida property managers
Learn what property managers, HOAs, and contractors should expect on asphalt paving day, from access planning and crew setup to paving, compaction, and communication.
Admin
May 29, 2026 · 5 min read
For many property managers, HOA boards, contractors, and commercial owners, the biggest concern about asphalt paving is not only the finished surface.
It is the day of the work.
Who needs access? Where will vehicles go? How long will areas be closed? Will tenants, residents, customers, or service vehicles be interrupted? What should the property expect once crews arrive?
Asphalt paving does require coordination, but it should not feel confusing. A clear paving plan helps reduce disruption and keeps everyone focused on the same goal: a smoother, safer, more durable paved surface.
Paving day should not feel like a mystery
Paving day is the visible part of a larger process. By the time asphalt is placed, the project should already have a plan for access, communication, staging, surface preparation, and sequencing.
For commercial properties and HOA communities in Central Florida, that planning matters because paved areas are rarely empty. People may need to park, walk, receive deliveries, leave for work, or access businesses during the project.
The more clearly the paving day is planned, the easier it is to manage expectations.
Before crews arrive: access and communication
A well-planned paving day starts before equipment is on site.
Property managers and project contacts should know:
Which areas will be closed
Where vehicles should be moved
How residents, tenants, or customers will be notified
Whether alternate entrances or parking areas are needed
How service vehicles or emergency access will be handled
Who the main point of contact is during the work
This is especially important for HOAs, active commercial properties, industrial sites, and parking lots with daily traffic.
Clear communication does not remove every inconvenience, but it helps reduce confusion.
Step 1: Site setup and safety controls
When crews arrive, the first visible step is usually site setup.
This can include cones, signage, equipment staging, access control, and identifying the active work area. The goal is to help separate paving activity from normal property movement and create a safer work zone.
For properties with residents, customers, employees, or deliveries, this step is important. A paving project involves heavy equipment, hot asphalt, trucks, rollers, and crew movement. Safety and traffic flow need to be planned together.
Step 2: Surface preparation
Before new asphalt is placed, the surface should be ready.
Depending on the project, preparation may include cleaning, removing loose material, addressing transitions, evaluating weak areas, or completing milling work if the existing pavement requires it.
Preparation affects the final result. If the surface has drainage issues, uneven transitions, failed areas, or elevation concerns, those details should be addressed before paving begins.
This is one reason a paving project should be based on site conditions instead of a one-size-fits-all approach.
Step 3: Asphalt placement
Once the area is ready, crews place the asphalt material according to the project plan.
This is where coordination matters. Trucks, paving equipment, and crew members need to work together so material is placed efficiently and consistently. The placement process can look fast from the outside, but it depends on planning, equipment, timing, and experience.
For property managers, the key is to keep the work area clear and avoid last-minute access changes unless there is a genuine need.
Step 4: Compaction and finishing
After asphalt is placed, compaction helps create the finished surface.
Rollers are used to compact the asphalt while it is still workable. Proper compaction supports surface consistency, durability, and performance. Crews may also address edges, transitions, and details around the work area.
This step is one reason vehicles and pedestrians should stay out of closed areas until the project team confirms access can resume.
Step 5: Reopening and follow-up expectations
After paving and compaction, the project team will communicate when areas can be reopened.
The timing can depend on the project, weather, site conditions, pavement area, and the type of traffic expected. Commercial and HOA properties should avoid guessing. Follow the project team's guidance before reopening areas to vehicles or normal use.
If striping, markings, or additional work is part of the project, those items should also be coordinated in the overall plan.
How property managers can reduce disruption
Disruption is one of the most common concerns around asphalt paving. Good planning helps.
Before the work begins, property managers can:
Notify tenants, residents, or staff early
Move vehicles out of the work area
Identify alternate parking
Plan delivery routes if needed
Share closure windows clearly
Keep the main project contact available
Confirm whether milling, paving, striping, or other steps are included
The goal is not just to complete the paving work. The goal is to complete it in a way that respects the property, the schedule, and the people who use the space.
When to contact a paving team
If your property needs asphalt paving, milling, resurfacing, or a practical review of pavement condition, it is worth speaking with a team that understands commercial, HOA, roadway, and parking lot needs in Central Florida.
Blacktop helps commercial clients, contractors, property managers, and HOA communities plan paving and milling work around the condition of the pavement, access needs, schedule, budget, and long-term performance.
Ready to start your next paving project? Our team of experts is ready to provide a reliable and affordable solution for all your milling and paving needs.